Loading projects
Contents
This section describes how the TVV app shows details of the projects and enables you to find the project most relevant at the moment.
Project list / Home page
When the application is launched, TVV will use your location to identify projects that are nearby. These will be shown in the project list and on a map.
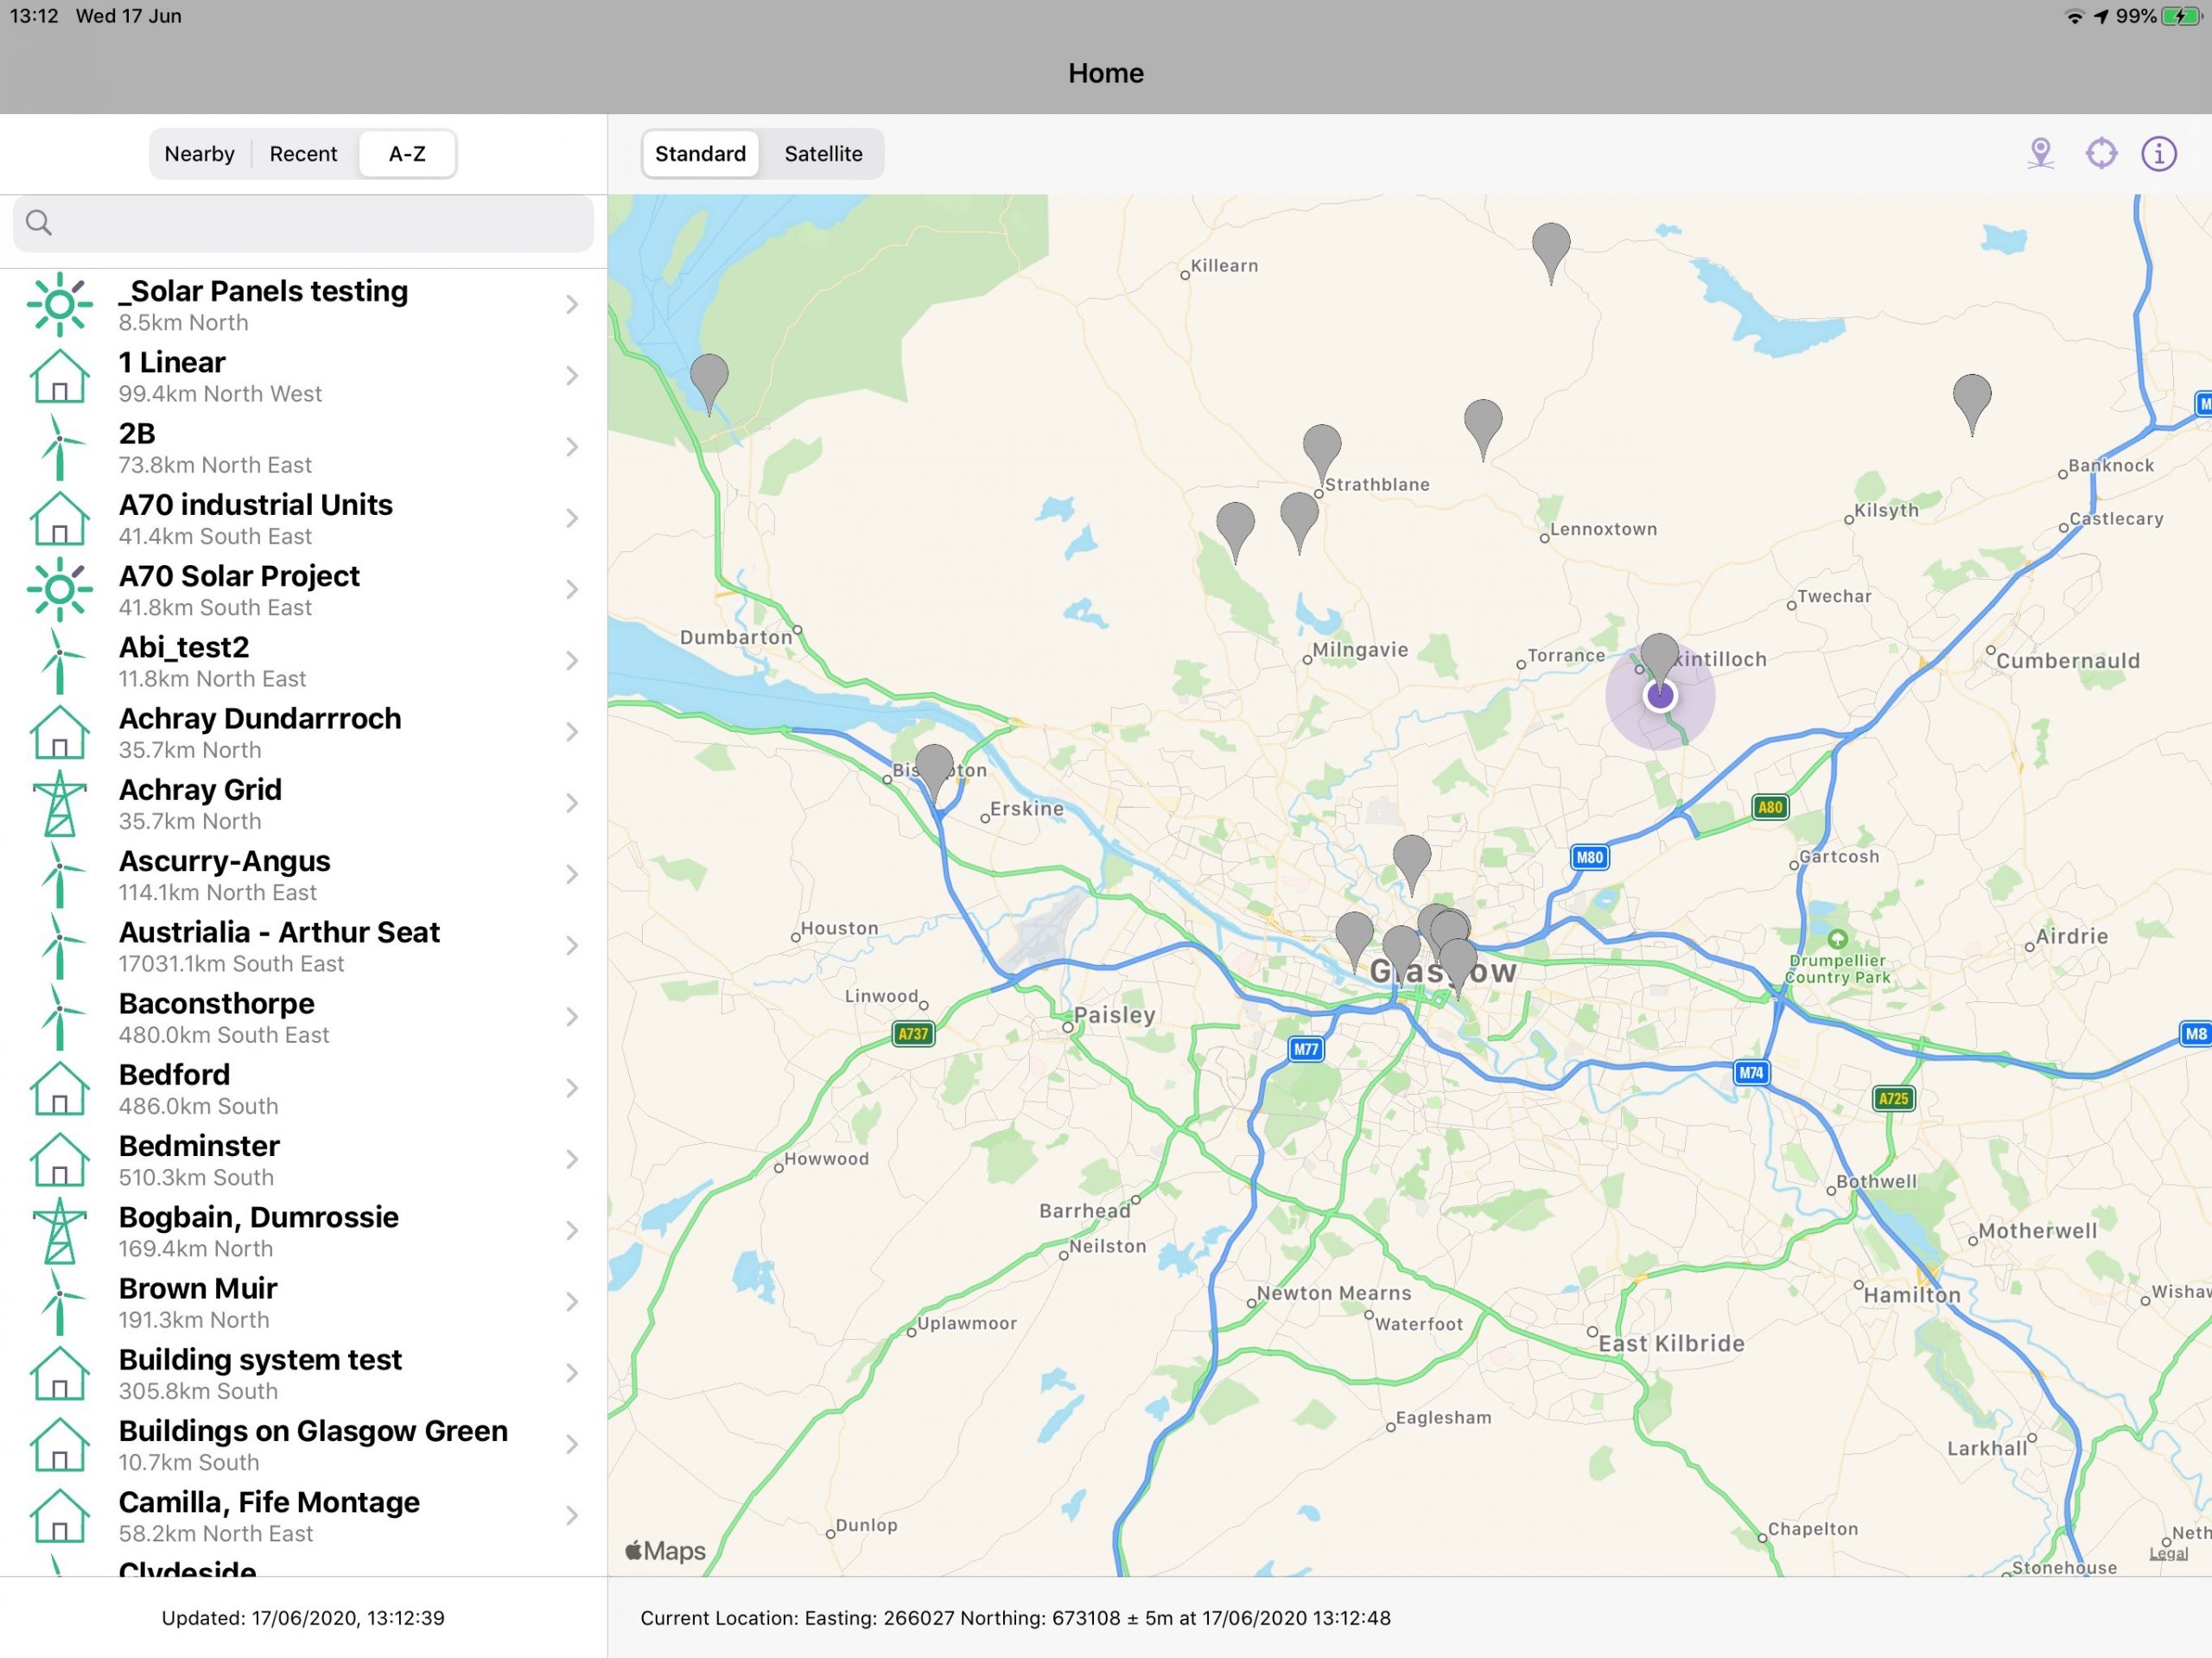
The view that is shown in the project list can be changed using the buttons at the top of the list.
- In ‘Nearby’ mode, projects within 30km of the current location are shown
- In ‘Recent’ mode, projects that have been recently accessed are shown
- In ‘A – Z’ mode, all projects associated with your organisation are shown
The project list is cached on the device so it will always be loaded even if you are not online. The date the data was last received from the server is shown at the bottom of the left column. The data will reload onto the device from the Portal any time the device has an internet connection or drag list down to trigger a refresh. Only projects marked as published will be shown in the app.
The map view shows the device’s location as a blue dot and the project locations as grey pins. Tapping on either of these map icons brings up more information.
To move to the next screen, tap on either the name of the project from the project list or the map pin. This will take you to the project details page.
Project details page
The project details page shows more information about the project you are interested in. The left column shows details of the project and the map stays in the right-hand column.
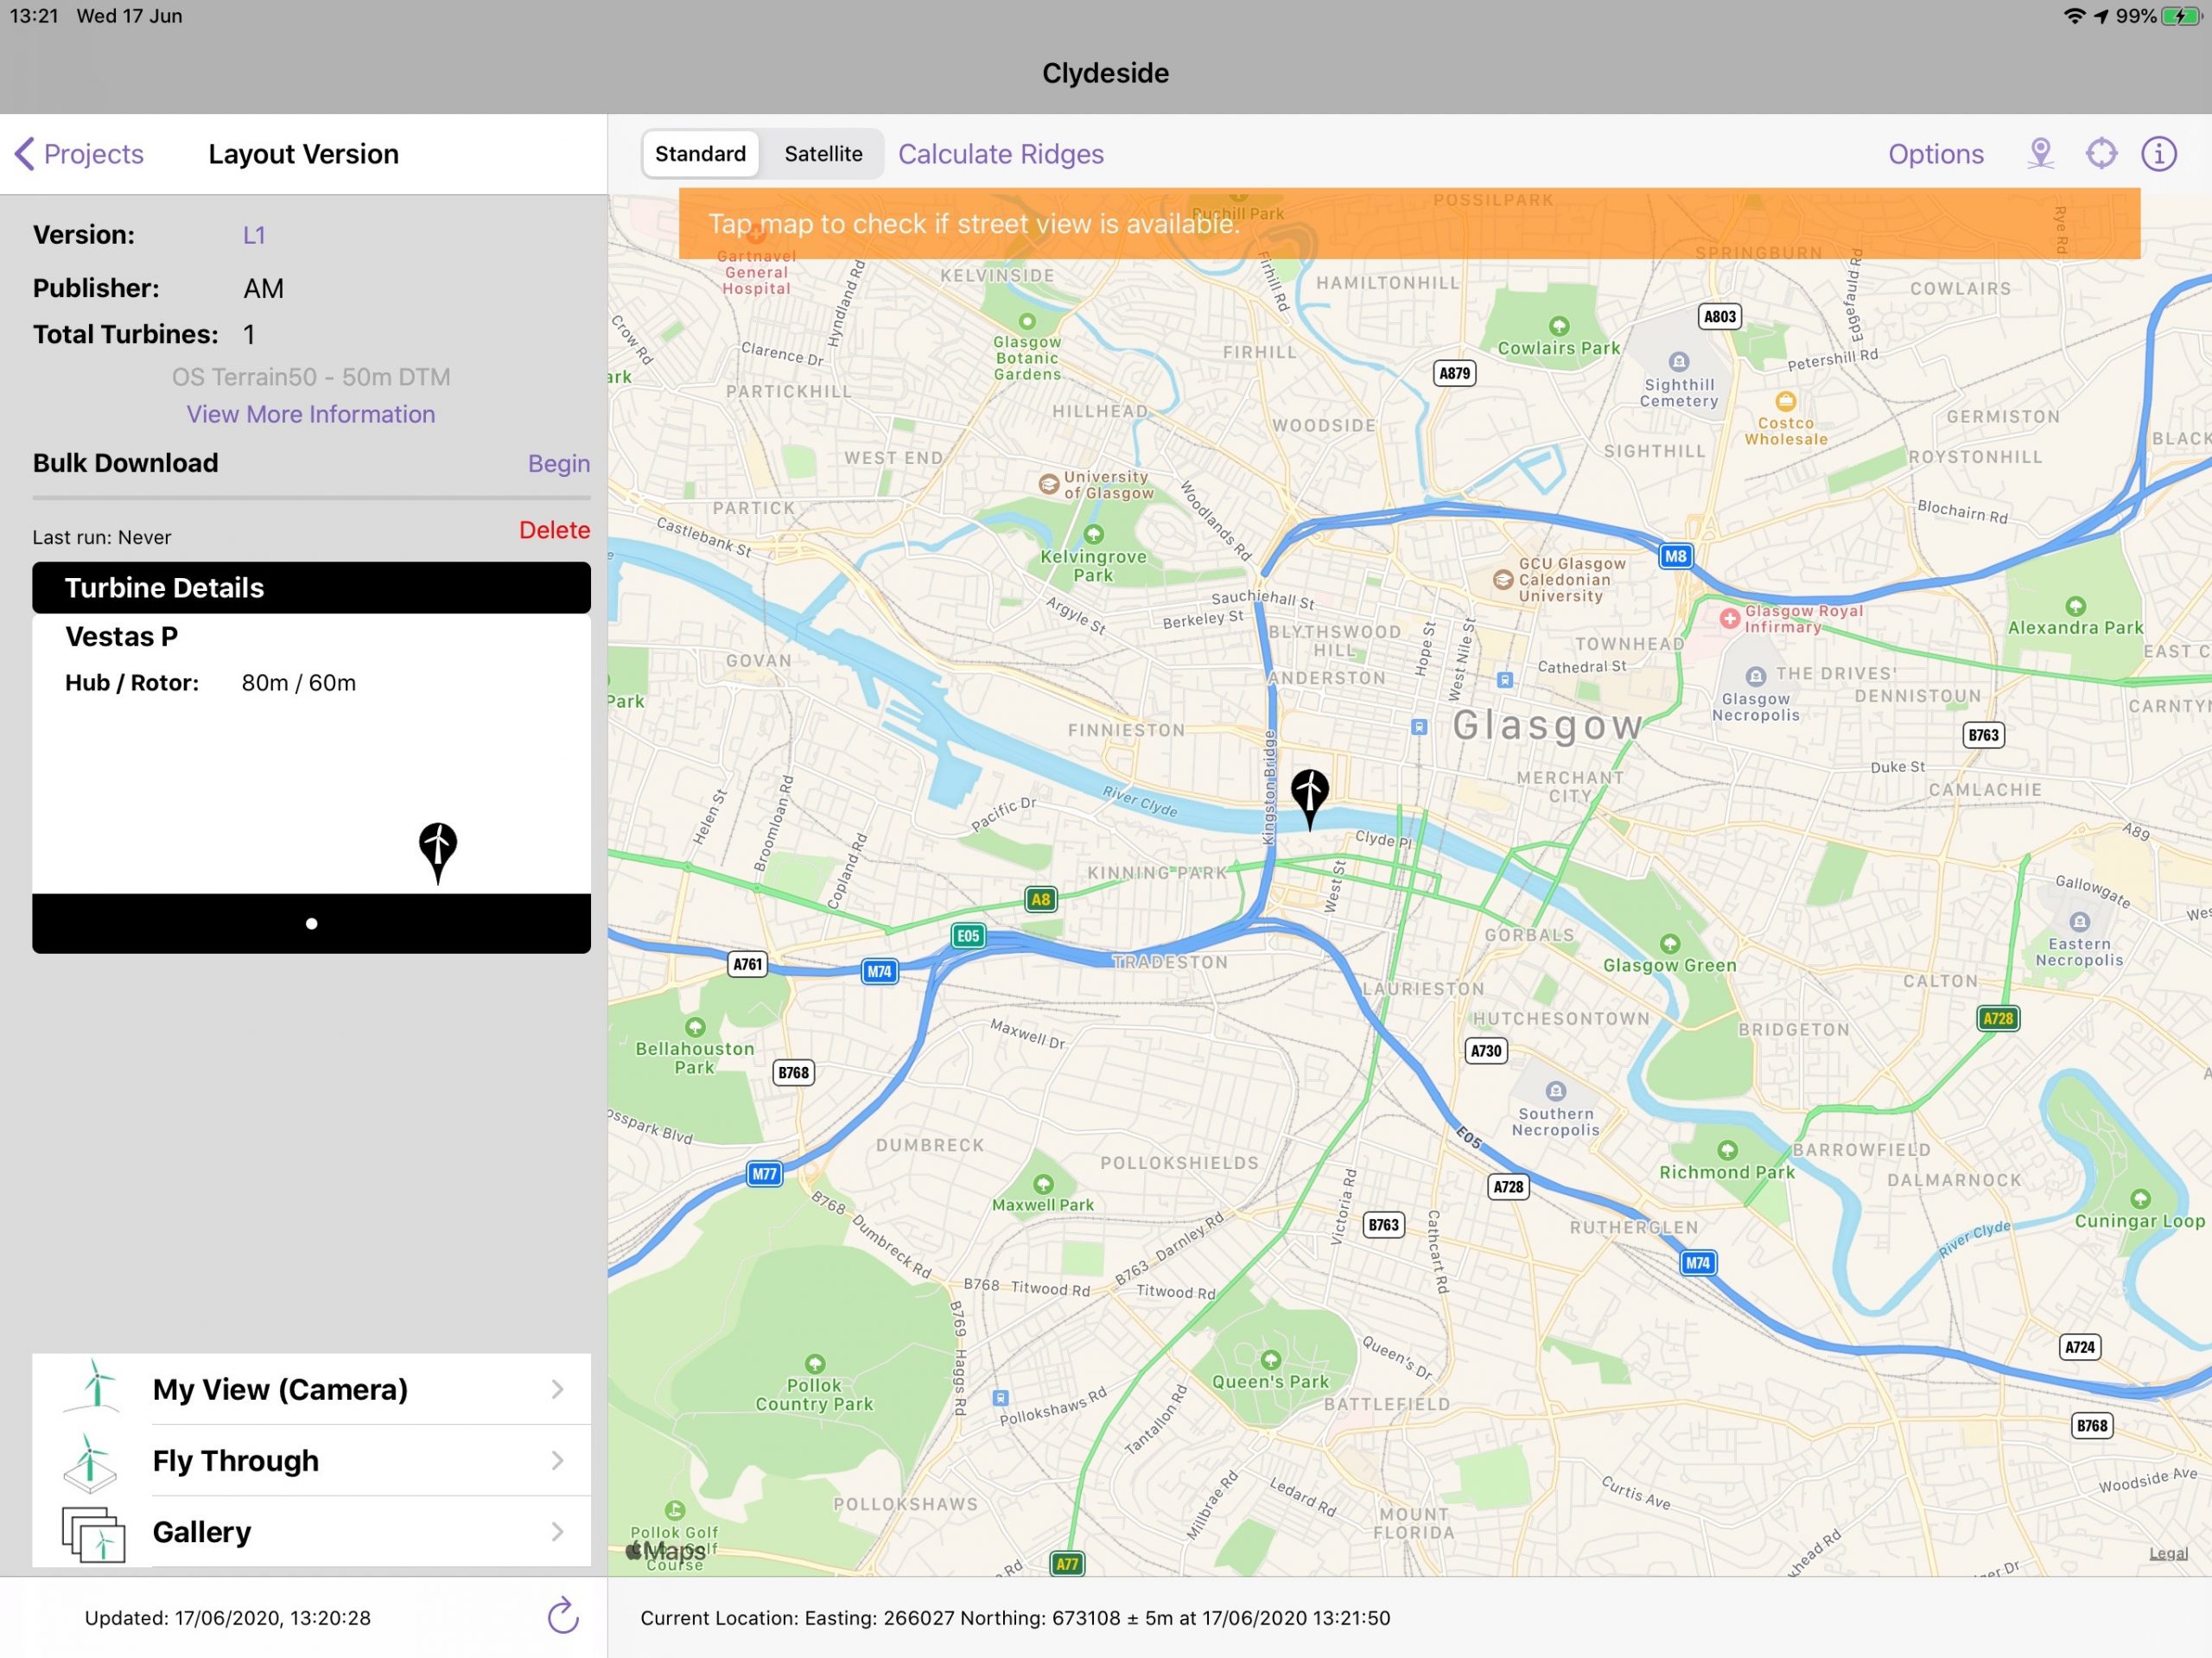
The left hand column contains:
- Details of the project are shown as they have been set up in the portal
- “Version” is a selector to allow you to change the layout that you are seeing on the map
- “OS Panorama – 50m DTM” is a selector to allow you to change from one of the standard DTMs to a custom one if you have purchased and have one set up. If you have purchased multiple custom terrain services, a derived option will be available that combines data from several terrain services into one
- View more information button to allow you to see more information about this project
- The bulk downloader downloads all the data needed to generate the visualisation
- Details about the types of turbines that are part of this project. The colours here correspond to the colours shown on the map
- The action buttons at the bottom start one of the visualisation modes: My View, Fly through and Gallery
- Refresh button which will download all of the project details again
The map shows:
- The locations of the turbines as pins on the map. The colours of the pins are based on the types of turbines
- The current location (from the GPS) is shown as a blue dot
- You can swap between the Standard map and a Satellite view using the tabs at the top of the map
Bulk download
The project details screen includes a Bulk Download function which can be used to download all the terrain data, overlays, maps and 3D models that might be needed to produce a visualisation. This is a process that is designed to be run in the office before heading out in the field. Once the bulk download process is complete the data should be stored in the device’s cache and the device can be used offline.
When the project is opened for the first time the Bulk Download will have never been run.
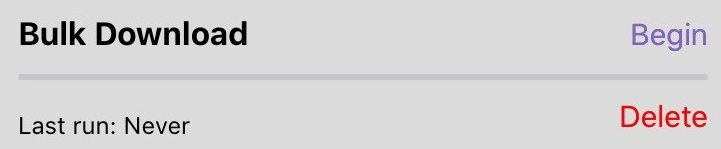
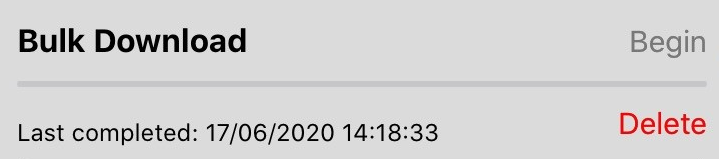
Once the bulk download has been completed (it can take up to 20 minutes for the bulk download to complete) the status will be updated to be shown.
All the data downloaded by a Bulk Download run can be deleted using the Delete button.
More details and supporting documents
The view more information button loads a more information box with all the details about the project as it has been set up in the portal.
Supporting documents show any additional PDF documents that have been added to the project in the portal. These files are downloaded either as part of the bulk downloader or on-demand when opened. Once they are downloaded they are stored on the device and can be viewed in the field.
Relocation
If the device is not near enough to the project (i.e. the internal location sensor in the iPad gives a location further than 50km from the project) the augmented reality My View function will not be available. We allow you to override the location provided by the internal location sensor using a relocate process. The relocate process replaces the location from the internal location sensor with a location that can be chosen from a viewpoint, from a map or by entering it manually.
To start relocation, choose the relocation icon which will bring out a user interface to start relocating.
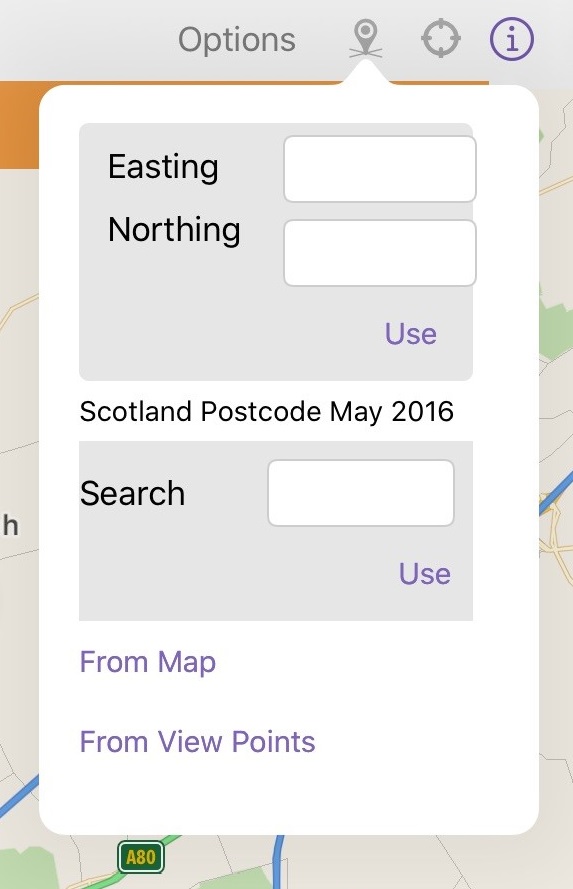
Relocating can be done in four ways:
- Enter an Easting and Northing and click use
- Enter a postcode and click use
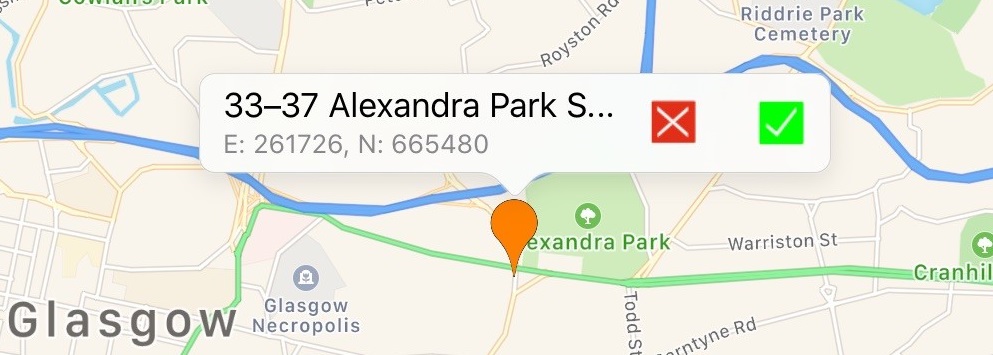
- From Map – choose any location shown on the map
- From View Points – shows the view points as white pins on the map and in a picker at the bottom of the screen. Choosing a pin or an item in the picker allows you to choose to relocate to a viewpoint. Viewpoints are managed in the portal
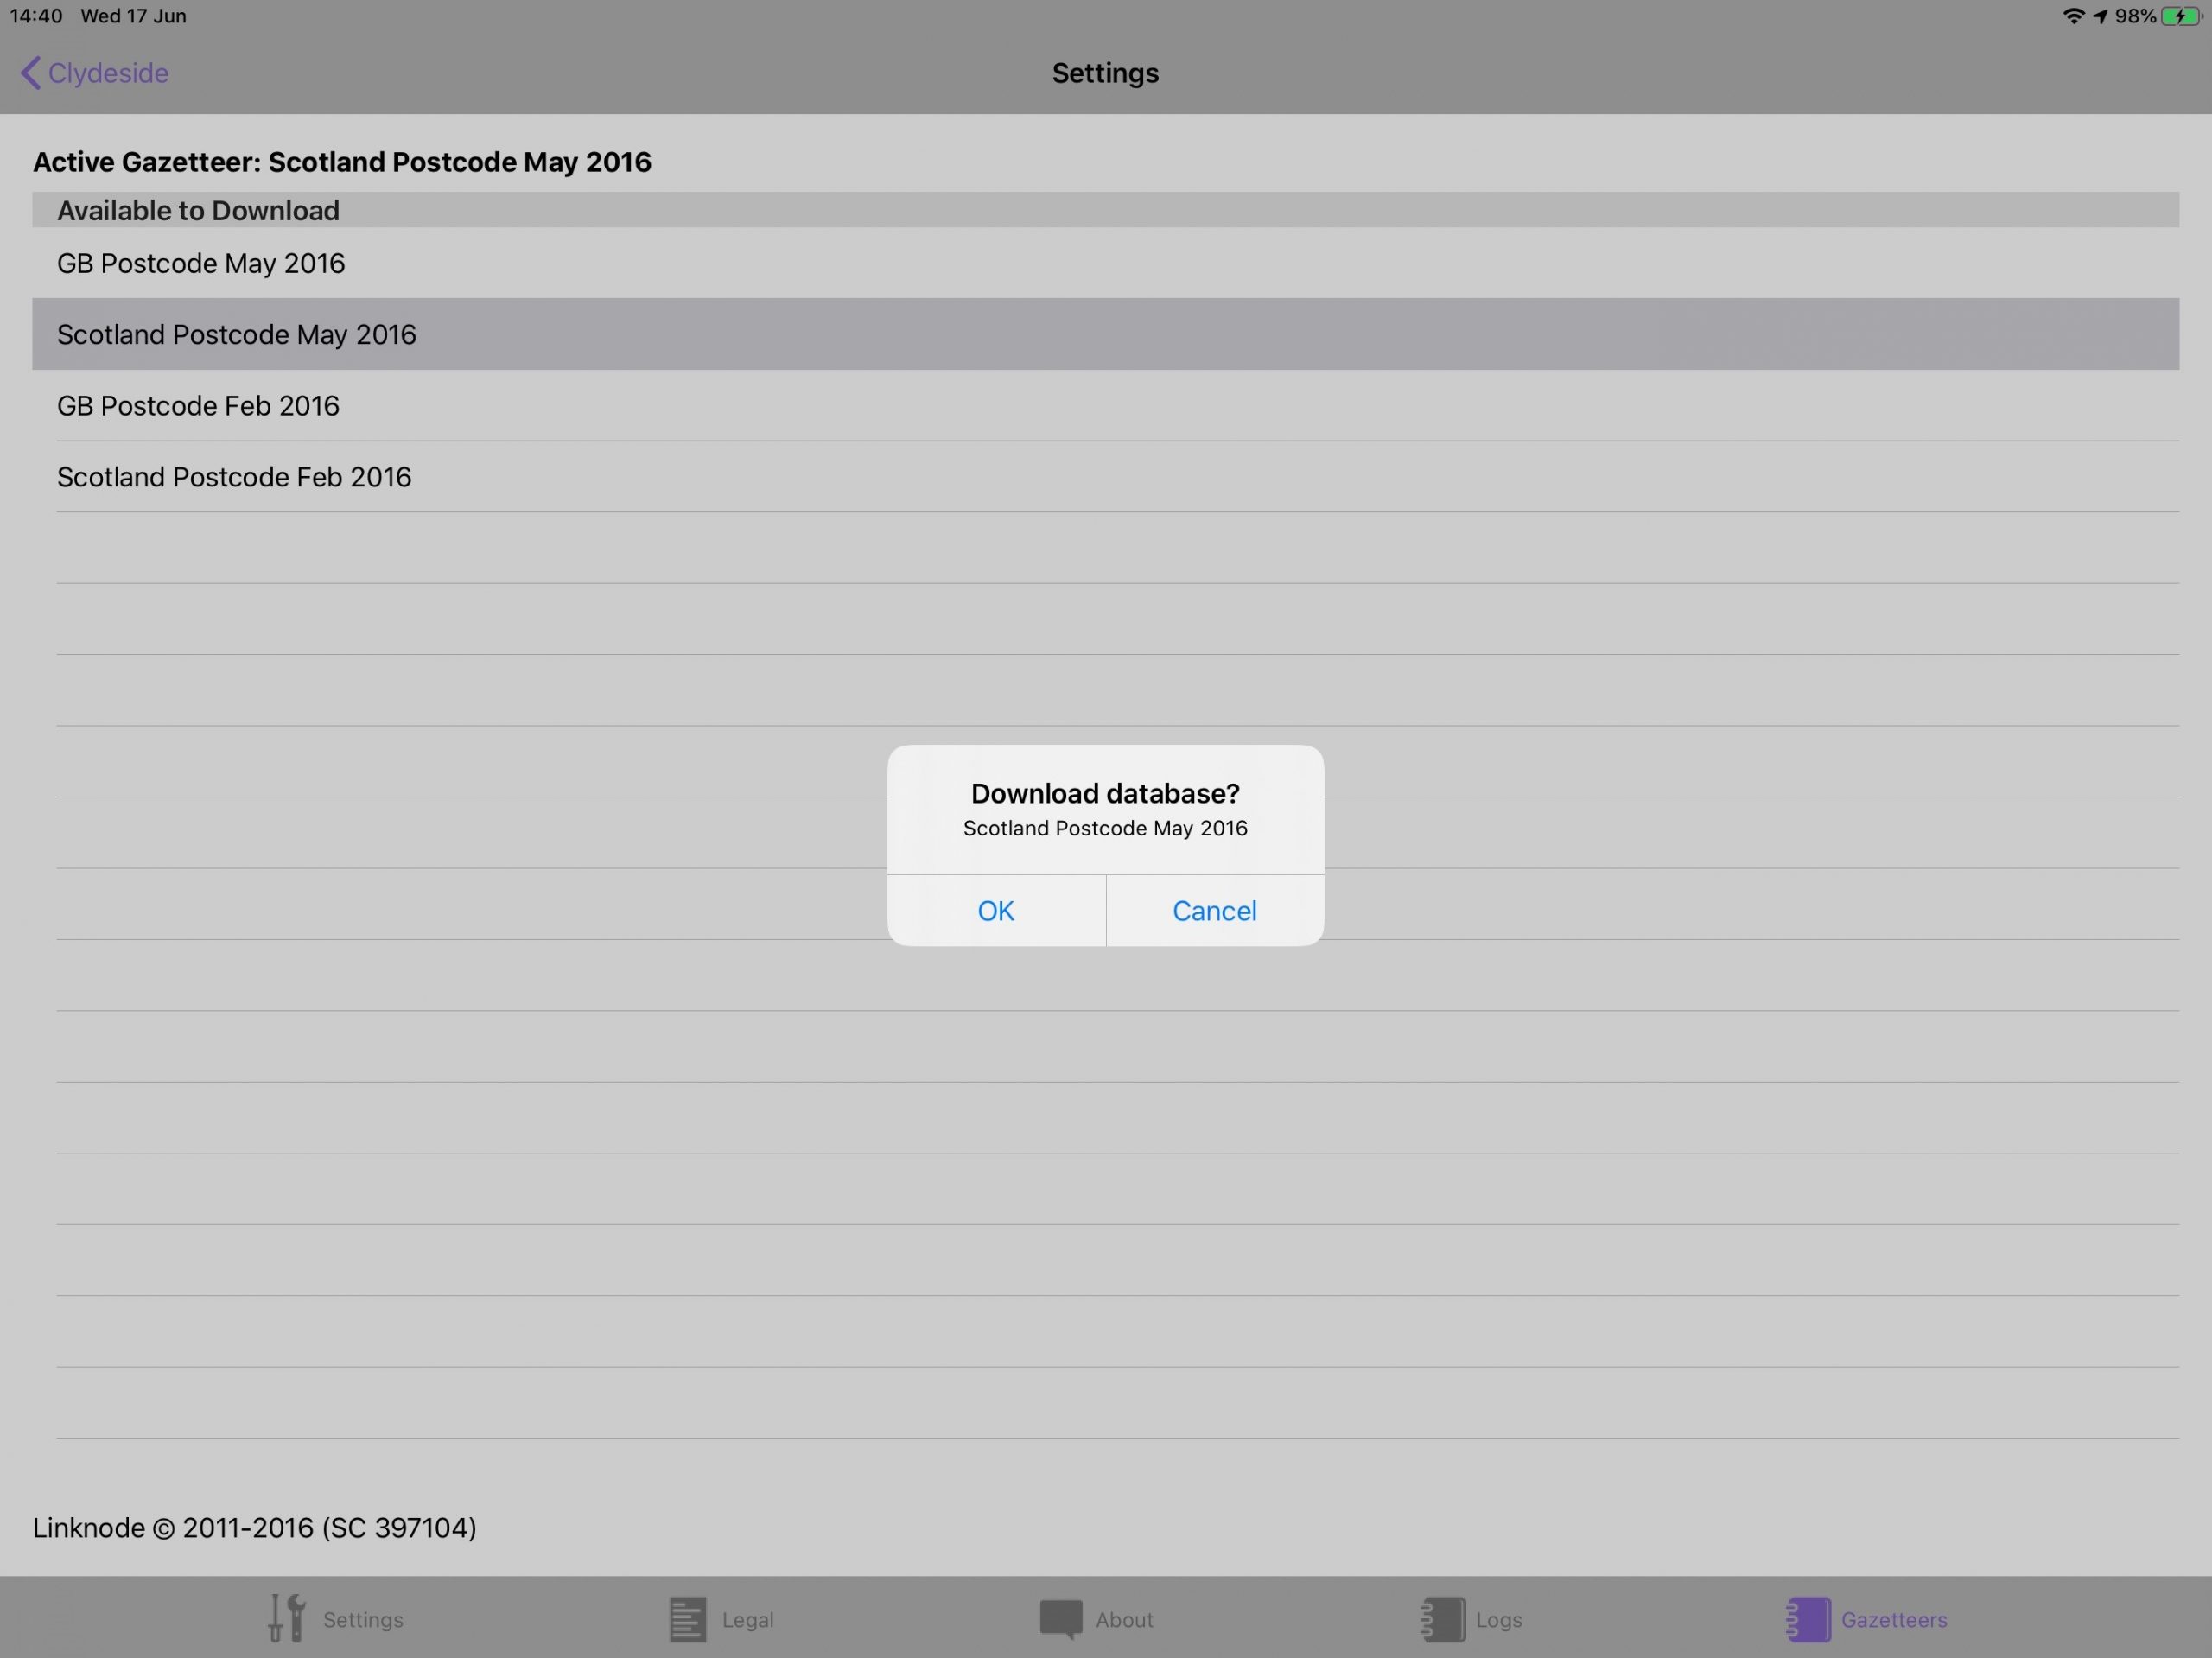
In order to relocate by postcode head over to the Gazetteers tab within the settings menu and select the required database to download.
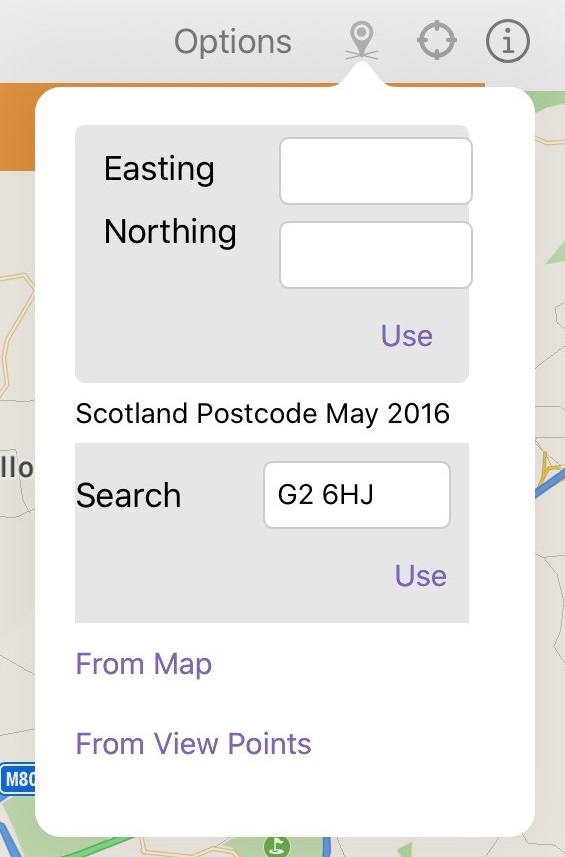
Next, select the Location icon from the map toolbar. Enter a postcode and select ‘use’ or press the return key. The location has now been overridden to the centre of the postcode entered.
Once the location has been chosen, you must confirm your chose by choosing the green tick.
The My View button changes based on whether you are relocated or not. If you are not relocated the My View button says “My View (Camera)” if you are relocated the button says “My View (Wireline)”.
Map options
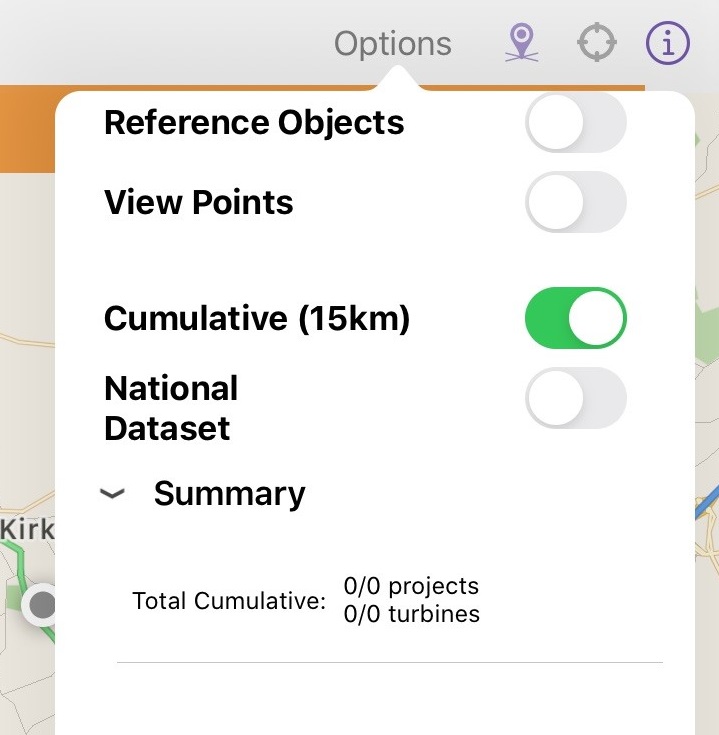
The map options tab allows you to control what is hidden or shown on the map project details map. The map options tab allows you to control the visibility of the Reference Object and control cumulative projects either, globally, by category, by source or individually. This tab allows shows a summary of the number of cumulative projects included.
Change the switches to control the visibility of the projects and then tap off the panel to close it and update the map.