Media tab
Contents
The Media tab contains all the media associated with this project. Media is organised into Viewpoints and manages:
- Baseline Panoramas
- Baseline Wirelines
- Wirelines
- Photomontages (EIA)
- Photomontage Viewpacks
These 5 SNH compliant images are contained in groups, to create an SNH compliant image for a viewpoint, the viewpoint must contain at least 1 group.
Media uploaded in the portal must be uploaded to a viewpoint, however, media uploaded from the device can go into the Not at a Viewpoint group.
Full media information can be obtained by clicking on the item in the film strip.
Adding an Output Image Heading Group
The first thing to assign SNH compliant output images to a viewpoint is to create a new Output Image Heading Group, to add a new group to a viewpoint, just enter a name for the group and click the add button. A new group will be added allowing you to generate images for that viewpoint.

Output images – 90 degree
The 90-degree output images are a series of panoramic images that can show the baseline wireline and photomontage of the project area.
Generate baseline 90 panorama
A baseline panorama is a wide view of the view from the viewpoint as it is before the project. This is produced from the baseline photography associated with a single viewpoint. A single base image has a horizontal FOV of approximately 39.6°, while a panorama can have as wide a horizontal FOV as is required.
SNH guidelines suggest 180° panoramas, so at least 6 base images are required to ensure a bit of overlap between each frame.
To create a baseline panorama:
Expand an output image group of your choice

Expand 90 Degree section

Click Create Baseline 90
Select the images that should be included in the stitch by clicking on them. Images with a blue background will be included in the stitch. Click Create Baseline 90 to stitch these images together.

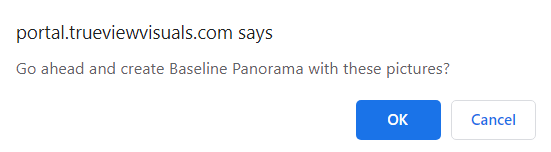
A pop-up window will appear Go ahead and create Baseline Panorama with these pictures?
Click OK
Wait while the panorama generates. The message at the top of the page will say Working…
Once the panorama is generated it will be available from the media tab.
Generate baseline 90 wireline
A baseline wireline is very similar to a baseline panorama, except it shows the wireline instead of the base photography. To create a baseline wireline, follow the same process as above but by clicking the Create Wireline 90 button.
Generate photomontage 90
A photomontage is when 3 rendered images are stitched together. To create a photomontage, follow the same process as above but by clicking the Create Photomontage 90 button.
Output images – 53.5 degree
The 53-degree output images are a series of panoramic images that can show the baseline wireline and photomontage of the project area.
Generate baseline 53.5
Expand an output image group of your choice
Expand 53.5 Degree section

Click Create Baseline 53.5
Generate baseline 53.5 wireline
A baseline wireline is very similar to a baseline panorama, except it shows the wireline instead of the base photography. To create a baseline wireline, follow the same process as above but by clicking the Create Wireline 53.5 button.
Generate photomontage 53.5
A photomontage is when 3 rendered images are stitched together. To create a photomontage, follow the same process as above but by clicking the Create Photomontage 53.5 button.

Managing renders
Renders for each viewpoint and renders that do not belong to viewpoints can be managed and deleted. Multiple renders can be selected and deleted as required.
Click the Manage Render button at the right of the Base Renders section.

Select the Renders to remove and click Delete or Replace Render at the bottom of the page.
Associate with a viewpoint
This functionality allows you to associate renders with a particular viewpoint. This is useful if your photo’s do not completely align with where your viewpoints are.
Click the Associate with a viewpoint button and the bottom of the page.
Choose the Viewpoint and click Associate

Export to PDF
A PDF file can be created that contains a series of renders and associated metadata of renders and images that have been published to the portal. See the Viewing renders section of the iPad Users Guide on how to publish renders and images to the portal.
To create a PDF file, within the renders section, click Publish Renders to PDF.

This will take you to a page containing all the renders and images for this project.
Select the paper size you wish to publish to.
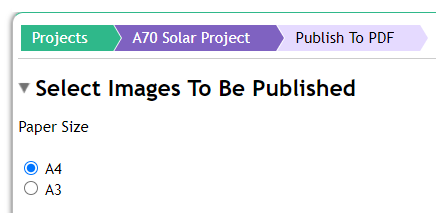
Select the images you want to place in the PDF, click and drag the selected image to modify their order and click Publish Renders to PDF button at the bottom of the page.

This will produce a PDF file that can be downloaded from the portal and shared as required.
The Publish Renders to PDF button will only show when some renders have been uploaded.
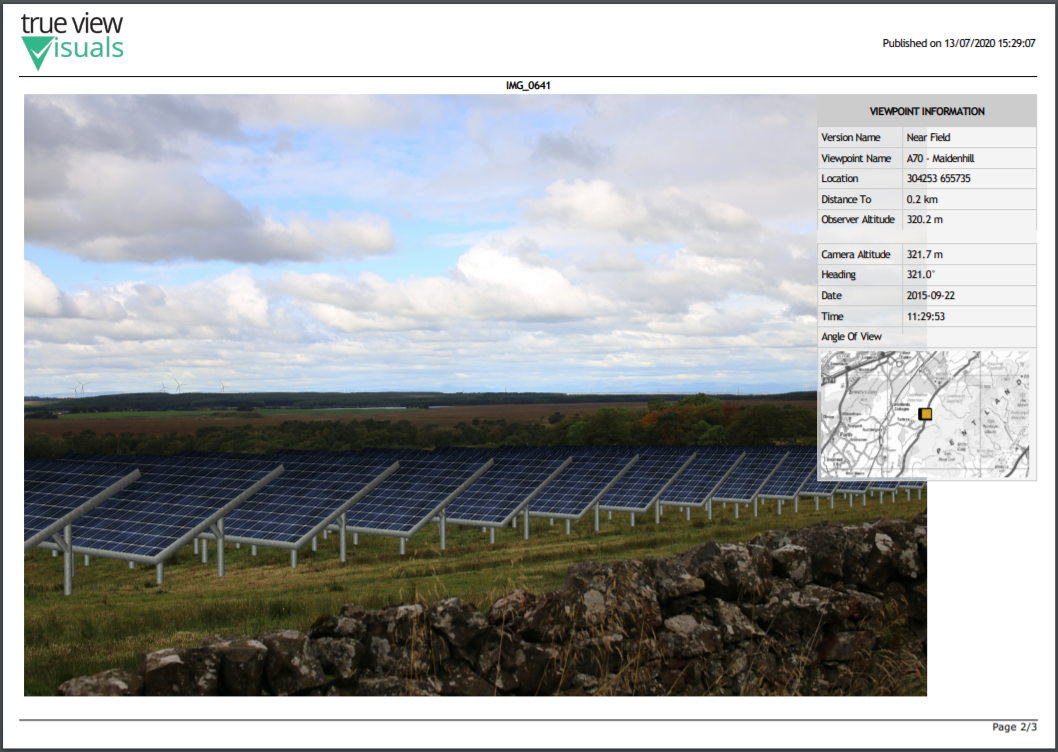
An example of a PDF file produced is shown below. If a custom logo has been applied in the Settings tab, it will be used in the top right corner of the PDF.